Sewing a shirt from scratch is one of the most rewarding projects in DIY fashion — and one of the most underrated. With the right fabric, the right tools, and a clear process, you can create a custom piece that fits your body and reflects your aesthetic in ways no off-the-rack garment ever will. This guide walks you through every stage, from fabric selection to final care.
Imagine wearing something you built with your own hands. Not a repurposed thrift find, not a screen-printed blank — a shirt you cut, stitched, and finished yourself. That's the promise of learning how to sew a shirt, and it's more accessible than most people assume. The skill gap between "I've never touched a sewing machine" and "I can make a wearable shirt" is smaller than the fashion industry would have you believe.
This isn't a beginner's tutorial that stops at basting stitches. This is a practical, technique-focused walkthrough for anyone ready to take DIY fashion seriously — covering fabric choices, essential tools, the full construction sequence, personalization options, and long-term garment care.
Step 1: Choose the right fabric for your shirt
Fabric is where the shirt is made or broken. Choose wrong, and even a technically perfect construction will produce a garment that drapes badly, wrinkles constantly, or feels uncomfortable against the skin. The fabric decision is both a functional and aesthetic one.
Natural vs. synthetic: what works for shirts
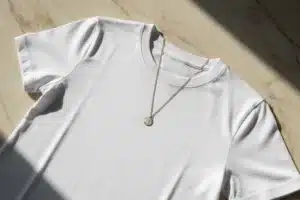
For most shirt sewing projects, natural fibers are the smart starting point. Cotton remains the gold standard — it's breathable, easy to cut, holds its shape through washing, and behaves predictably under a sewing machine needle. Poplin and broadcloth are the two cotton weaves most commonly used in classic shirt construction. Poplin is slightly finer and crisper, ideal for dress shirts. Broadcloth is softer and more casual.
Linen is an excellent choice for summer shirts and adds a textural quality that reads as deliberately crafted rather than mass-produced. It wrinkles, yes — but on a handmade shirt, those wrinkles are part of the character. Chambray sits between denim and shirting cotton, offering a relaxed, slightly textured look with the sewability of a standard woven fabric.
Avoid stretch fabrics (jersey, knit blends) for your first shirt unless you specifically want a fitted T-shirt silhouette. Woven fabrics are significantly easier to work with when learning shirt construction. If the goal is closer to a classic button-down, stick to wovens.
Fabric weight and drape
Beyond fiber content, fabric weight determines how the finished shirt falls on the body. Lightweight fabrics (under 100 g/m²) produce fluid, relaxed shirts. Mid-weight fabrics (100–160 g/m²) are more structured and hold collar and cuff shapes better. For a classic tailored shirt, mid-weight cotton or cotton-blend is the target range.
Buy at least 10–15% more fabric than your pattern calls for. Cutting errors happen, pattern matching requires extra yardage, and pre-washing cotton causes shrinkage that can affect your final measurements.
Always pre-wash and iron your fabric before cutting. Cotton can shrink up to 5–8% after the first wash, which will distort your pattern pieces if you skip this step.
Step 2: Gather the essential sewing tools
A well-equipped workspace removes friction from the construction process. You don't need an industrial setup, but cutting corners on tools produces visible results in the finished garment.
Cutting and measuring tools
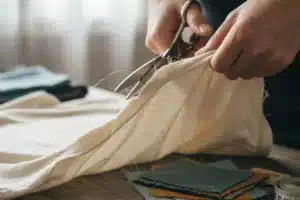
- Fabric scissors (never use paper scissors on fabric — it dulls the blade and frays the cut edge)
- Rotary cutter and self-healing mat for straight-line cuts and pattern pieces
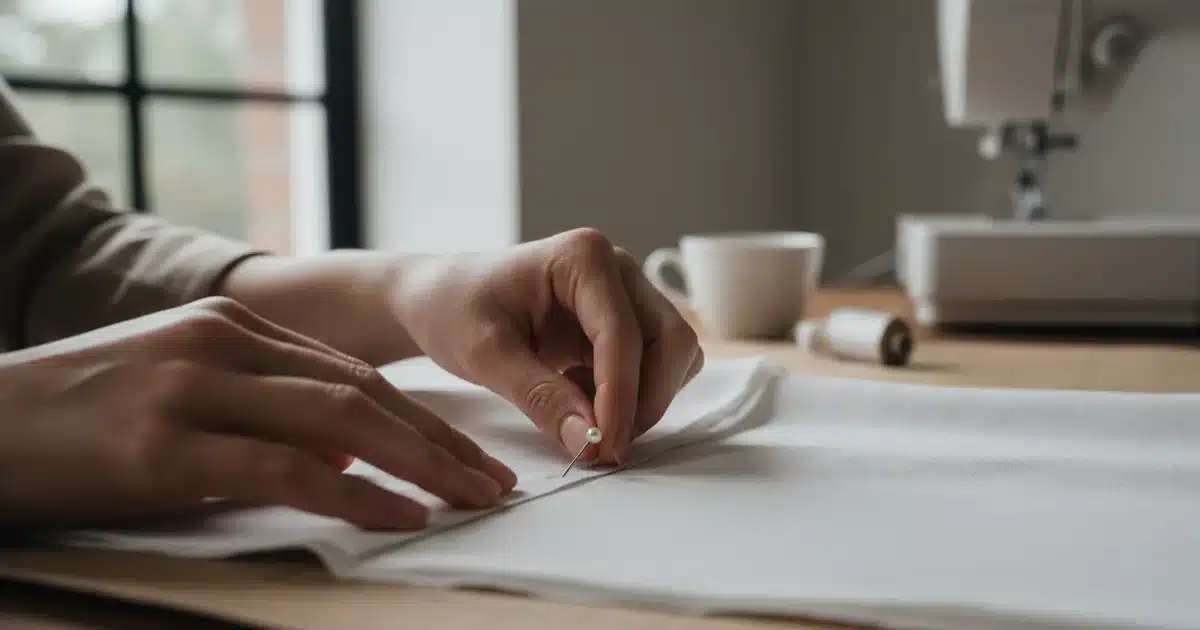
- Tailor's chalk or fabric marker for transferring pattern markings
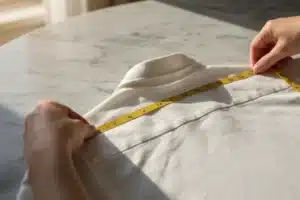
- Flexible tape measure for taking body measurements and checking seam allowances
- Seam gauge (a small ruler with a sliding marker) for consistent seam allowances and hem depths
Sewing and pressing tools
A sewing machine with basic stitch functions — straight stitch, zigzag, and ideally a buttonhole function — handles the bulk of the construction. A serger (overlocker) is a bonus for clean seam finishes, but not mandatory; a zigzag stitch on a standard machine achieves comparable results.
Pins and sewing clips keep fabric layers aligned during stitching. Hand-sewing needles are necessary for slip-stitching hems and attaching buttons. And the tool most beginners underestimate: a steam iron and ironing board. Pressing seams open as you sew is what separates a professional-looking shirt from an amateurish one. Press every seam, every time.
Using the wrong needle size for your fabric causes skipped stitches and thread breakage. For standard shirting cotton, use a universal needle in size 80/12. For heavier fabrics like linen or chambray, go up to 90/14.
Step 3: Follow the sewing process step by step
The sequence matters as much as the technique. Shirt construction has a logical order, and deviating from it creates problems that are difficult to fix later.
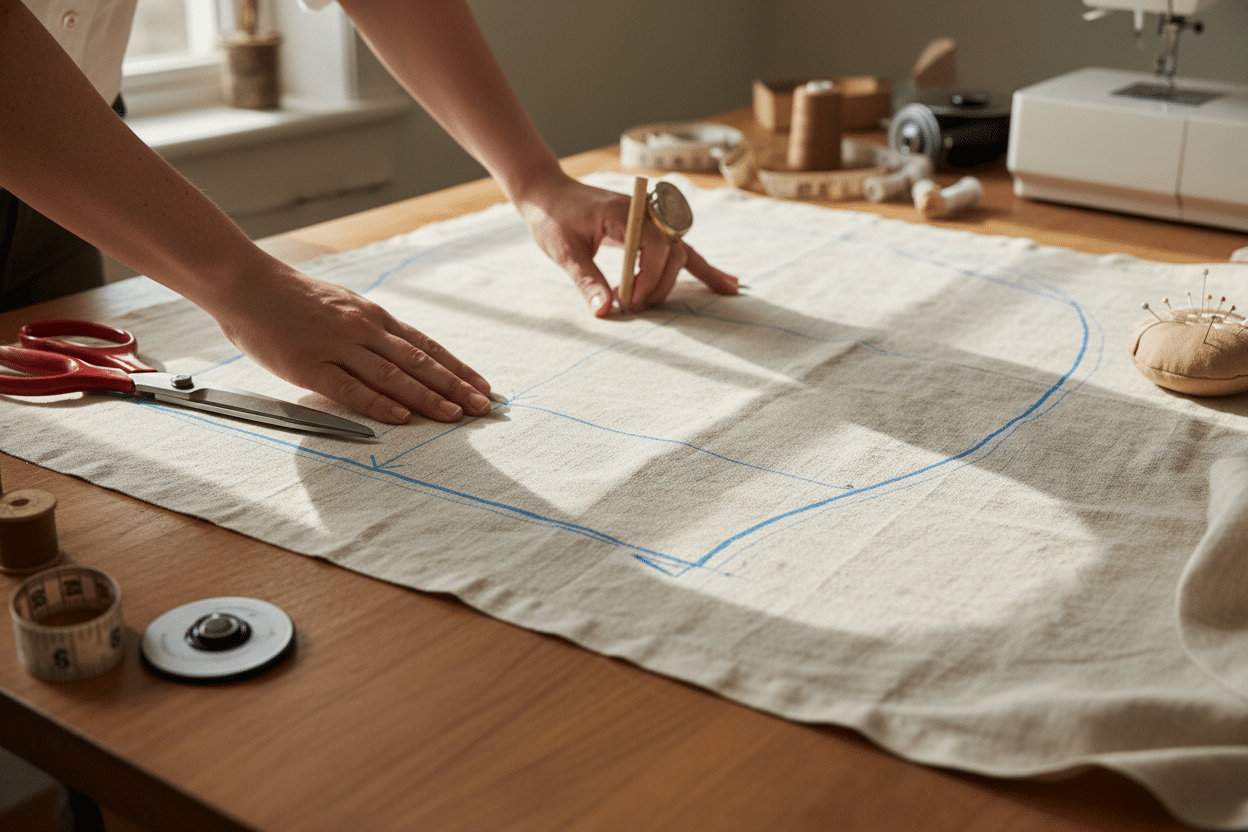
Prepare your pattern and cut the fabric
Start with a commercial shirt pattern in your size, or draft one from your measurements. Lay the pattern pieces on the pre-washed, ironed fabric, following the grain lines precisely. Off-grain cutting produces a shirt that twists or pulls after washing.
Cut all pieces cleanly: front panels, back panel, collar, collar stand, sleeves, cuffs, and plackets. Transfer all pattern markings (notches, button placement, dart positions) with tailor's chalk before removing the pattern pieces from the fabric.
Apply interfacing to the collar, collar stand, cuffs, and front placket pieces. Interfacing adds structure to these areas and is what gives a shirt its crisp, polished look. Fuse it carefully with a hot iron, pressing firmly for several seconds per section.
Construct the shirt body
- Sew the front placket (button band) to the right front panel and the buttonhole band to the left front panel.
- Stitch any front darts or shaping seams.
- Join the front panels to the back panel at the shoulder seams. Press seams open.
- Construct the collar: sew the outer collar to the inner collar, trim the seam allowance at the corners, turn and press. Attach the collar to the collar stand.
- Attach the collar stand assembly to the neckline, sandwiching the raw neckline edge between the two layers of the collar stand.
- Set in the sleeves. This is the most technically demanding step — match the sleeve notches to the shoulder seam and ease the sleeve cap into the armhole without creating puckers.
- Sew the side seams and underarm seams in one continuous line from hem to cuff edge.
- Construct and attach the cuffs using the same sandwich method as the collar stand.
- Hem the shirt bottom with a double-fold hem, pressing each fold before stitching.
- Sew buttonholes using the machine's buttonhole function, then cut them open carefully with a seam ripper. Attach buttons by hand.
This process applies to a classic woven button-down. If you're building something closer to a casual knit shirt or want to explore simpler constructions, the approach used in transforming a T-shirt into a tank top offers a useful reference for working with stretch fabrics and minimal seaming.
Press every seam immediately after sewing it, before moving to the next construction step. This single habit accounts for most of the difference between a homemade-looking shirt and a professionally finished one.
Step 4: Personalize your shirt to make it truly yours
This is where vêtement creation stops being technical and becomes expressive. A shirt pattern is a canvas. What you do with it defines whether the finished piece is generic or genuinely yours.
Embroidery and surface decoration
Machine embroidery on the chest pocket, collar, or cuffs adds a distinctive mark without altering the shirt's structure. Monograms, botanical motifs, geometric patterns — the choice reflects a personal aesthetic in a way that purchased garments simply can't replicate. Hand embroidery is slower but produces a texture and irregularity that machine work can't match.
Appliqué — attaching a shaped piece of contrasting fabric to the shirt surface — works particularly well on back panels or shirt fronts. Use a satin stitch around the edges for a clean finish, or leave raw edges deliberately frayed for a more deconstructed look.
Hardware and structural choices
Buttons are the most visible hardware on a shirt, and swapping standard white plastic buttons for something more considered — horn buttons, metal buttons, ceramic buttons, vintage glass buttons — changes the entire register of the garment. The same shirt in the same fabric reads completely differently with different button choices.
Consider non-standard collar shapes (band collar, camp collar, oversized spread collar) as a way to personalize the silhouette without changing the construction complexity significantly. The camp collar, in particular, has become a marker of considered casual dressing and is only slightly more complex to construct than a standard shirt collar.
Fabric choice itself is a form of personalization. A shirt sewn from a bold Liberty print cotton or a vintage deadstock fabric carries a story and a specificity that no mass-produced garment can offer. The connection between DIY mode and personal identity is precisely this: you're not selecting from what's available, you're deciding what exists.
If you're interested in exploring other creative uses for fabric and garments beyond shirts, projects like making a T-shirt quilt demonstrate how the same construction logic applies across different textile projects.
Step 5: Care for your handmade shirt properly
A well-made shirt deserves proper maintenance. The construction techniques used in a handmade shirt — particularly fused interfacing, hand-sewn buttons, and pressed seams — require slightly more attention than a machine-sewn fast-fashion piece.
Washing and drying
For cotton and linen shirts, machine washing on a cool or warm cycle (30–40°C) is generally safe after the initial pre-wash. Turn the shirt inside out before washing to protect the outer surface and reduce friction on buttons and embroidered areas. Avoid hot cycles — they accelerate fading and can cause interfacing to delaminate over time.
Skip the tumble dryer whenever possible. High heat is the primary cause of collar distortion and cuff shrinkage in handmade shirts. Line drying or flat drying preserves the garment's shape significantly better. If the shirt needs reshaping after drying, a steam iron handles it quickly.
Pressing and storage
Always iron shirts while slightly damp for best results — or use a steam iron liberally. Start with the collar (both sides), then the cuffs, then the sleeves, then the front placket and button band, and finally the shirt body. This sequence mirrors the construction order and produces a consistently pressed result.
Store shirts on proper hangers — not wire hangers, which distort shoulder seams over time. For long-term storage, fold shirts flat or hang them in a garment bag away from direct light. Linen and cotton are susceptible to yellowing when stored in plastic.
Understanding the history and construction logic behind shirt design also deepens the relationship with the garment. Something as simple as the origin of the T in T-shirt reveals how much intentionality is embedded in even the most basic garment shapes — and why that intentionality matters when you're building something from scratch.
The shirt you sew yourself will outlast most of what's hanging in retail stores right now, provided you give it the care it deserves. That durability, combined with the fit precision and aesthetic specificity that only custom garment creation can deliver, is exactly why the effort is worth it.